
My daughter is almost 6 months old, so we’ve been experimenting with different types of baby food. One of the best parts about this is the cute little glass jars that they come in! When she is eating more, I would like to make my own food, but until then, the tiny portions are great, and I’m saving all the jars that we use. The jars are the perfect size for treats or storing craft embellishments, like buttons. While my intentions for these particular jars aren’t solidified yet, I decided to go ahead and glitterfy (Yes, I’m making this a word!) them.

I began by soaking the jars in warm soapy water to clean them and remove the labels. Then I used Goo Gone to remove the sticky adhesive that was left behind and followed this step with another washing.
Next, I poured glitter into a small Tupperware container for dipping, and then I got out the modge podge and a foam brush. Working with one jar at a time, I painted on a thin layer of modge podge and then dipped it into the glitter. Once it was fully covered, I shook off the excess and let it sit on a piece of wax paper to dry.


After a couple of days, I moved the jars outside and sprayed them with a clear coat of Krylon acrylic coating to seal them. I went outside and sprayed them a few times to lock in the glitter and keep them from making a mess in the house. Now they are ready to be filled! Later on, I think I may cut out some fabric to affix to the lid, so that I can seal the jars.


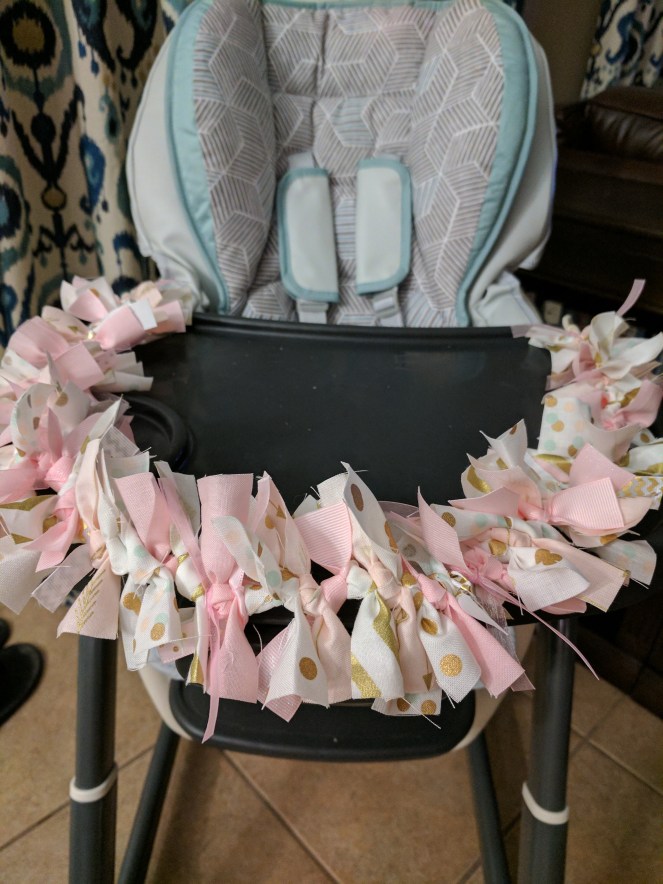
The other project I have been working on are rag garlands. I wanted one to decorate my daughter’s high chair, and I have been holding on to some pretty fabrics for a while now. Last night I took out the cutting board and rotary cutter and sliced some of the fabric into 1.25” wide strips. I then cut them to be 5” in length each. To add some texture, I pulled out some pink ribbons that I had on hand and cut them into 5” length pieces as well. I didn’t worry about the widths of these – some were skinnier and some were a little thicker, but they complemented the fabrics well.


After cutting some pieces, I took out jute rope and began tying the fabric and ribbons on, one at a time. I alternated the colors and textures and measured the garland periodically with the high chair to see how much longer I needed to make it.


Once I was pleased with the length, I tied a knot on both ends and cut the rope! I loved how my garland turned out and plan to make one for the mantle next!

I love the garland! Your jars would make sweet vases for small flower arrangements
LikeLike
Excellent step by step tutorials – keep up the great work!
LikeLike